Documentation & FAQ
Documentation and Answers
Search this page for answers to frequently asked questions and how-to items.
Sign Up & Register
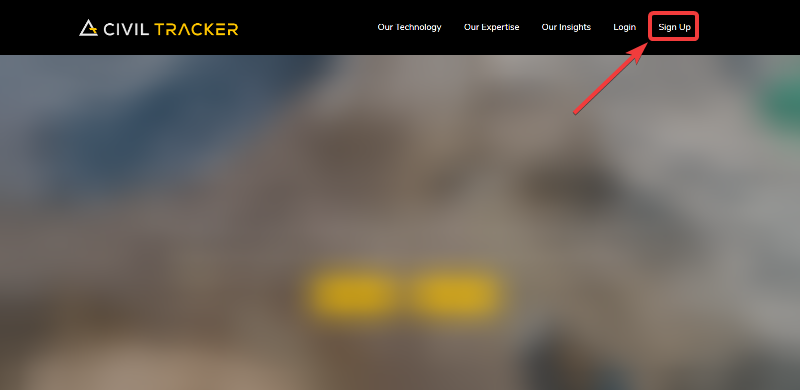
Registering for your Civil Tracker account is simply done by clicking on the Sign-Up button at the top right of this web page.
Enter in your user details and click the Register button.
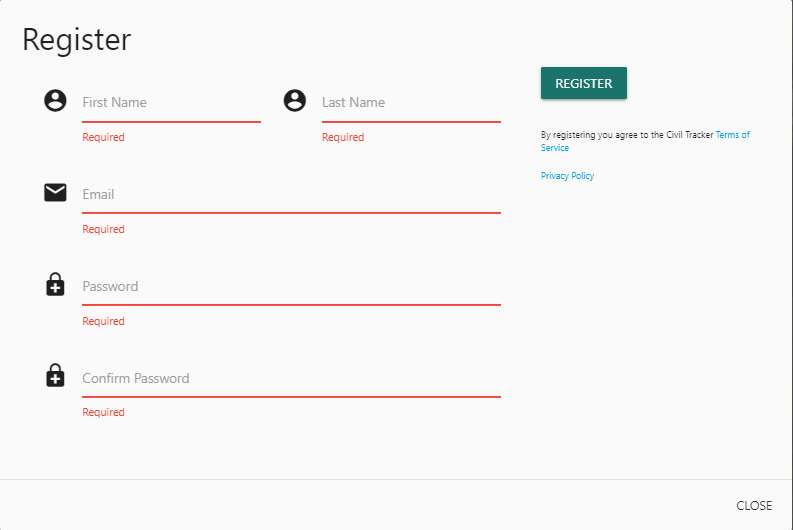
You’ll receive and email asking you to confirm account. If you don’t receive this email check your junk mail folders, double check that you entered your email correctly or talk with your email administrator.
It is important that you’re able to receive emails from Civil Tracker so that you can open the progress report attachments and project status emails.
Create A New Project
From the main project view you’ll see a button to create a new project.
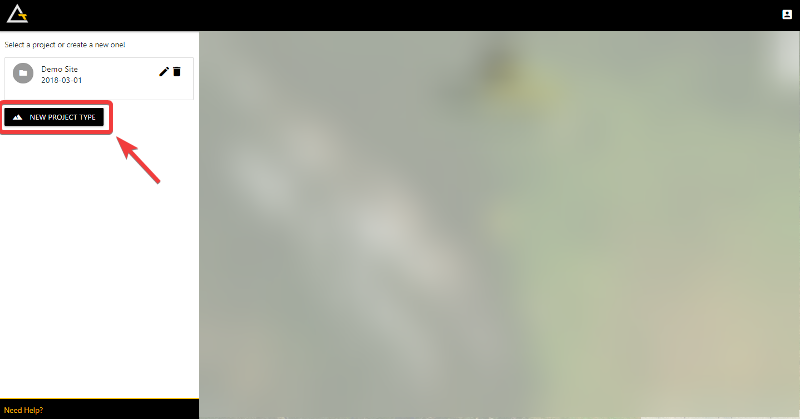
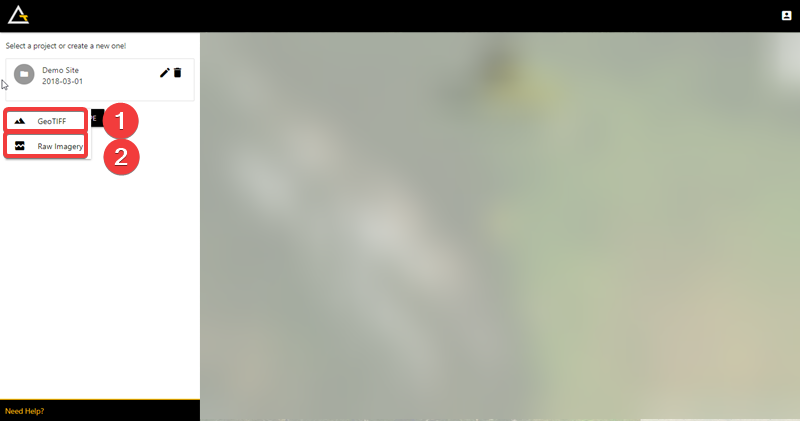
After clicking on the create new project button you’ll have to chose what type of data you’re uploading.
- Select GeoTIFF if you already have ortho-imagery and digital elevation models from satellite, conventional aircraft or if you’ve already processed your drone imagery through Drone Deploy, Pix4D etc.
- Otherwise if you’re using Civil Tracker to process all your drone images, click on Raw Imagery
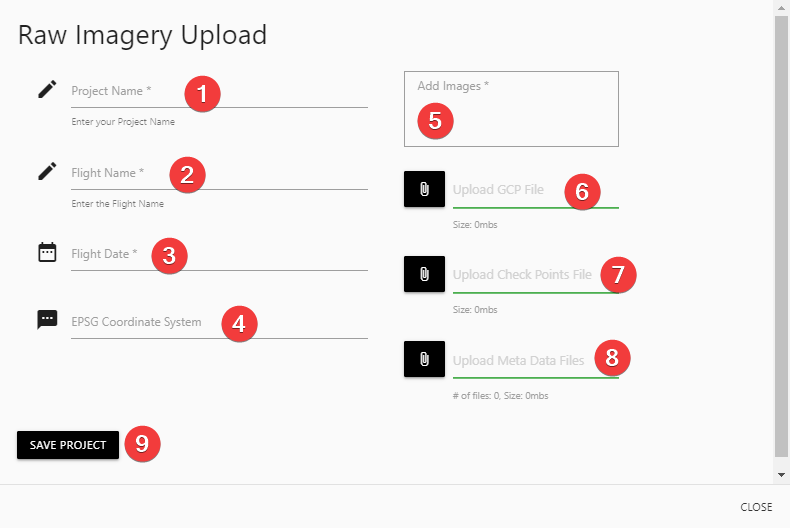
(Raw) Imagery Upload
There are several mandatory and optional.
- Project Name (mandatory) Enter your project name here. Keep in mind this name will show on your progress reports. (You can change it later if you want)
- Flight Name (mandatory) Enter the flight name here. I often call it ‘1’ because it’s the first flight of the project.
- Flight Date (mandatory) Chose the date that the data was acquired (flown) from the drop down calendar.
- EPSG Coordinate System (mandatory) Enter the EPSG code for the coordinate system. This should match the Ground Control File coordinate system. If you don’t know you ESPG code look it up at epsg.io or the spatial reference list.
- Add Images (mandatory) Upload all the drone jpg images that need to be processed.
- GCP File (optional) GCP stands for Ground Control Points. Upload the GCP file (usually a csv or txt file). Your flight will be processed using the GCPs provided.
- Check Points (optional) Upload a coordinate file of independent check points for data validation. Often these are elevation only GPS check points.
- Meta Data (optional) Have any other files you want to send us? Perhaps field notes, a sketch, or instructions? Attach them here.
- Save Project triggers the upload. Be patient this can take a while depending on the number of photos and the speed of your internet.
Once the data has been successfully processed by Civil Tracker you’ll receive and email notification.